
Hi all and welcome to another week on the Simon Says Stamp Wednesday Challenge. Thank you for joining us for the Make It Cute Challenge and we hope you will all join us again this week too.
This week the challenge is
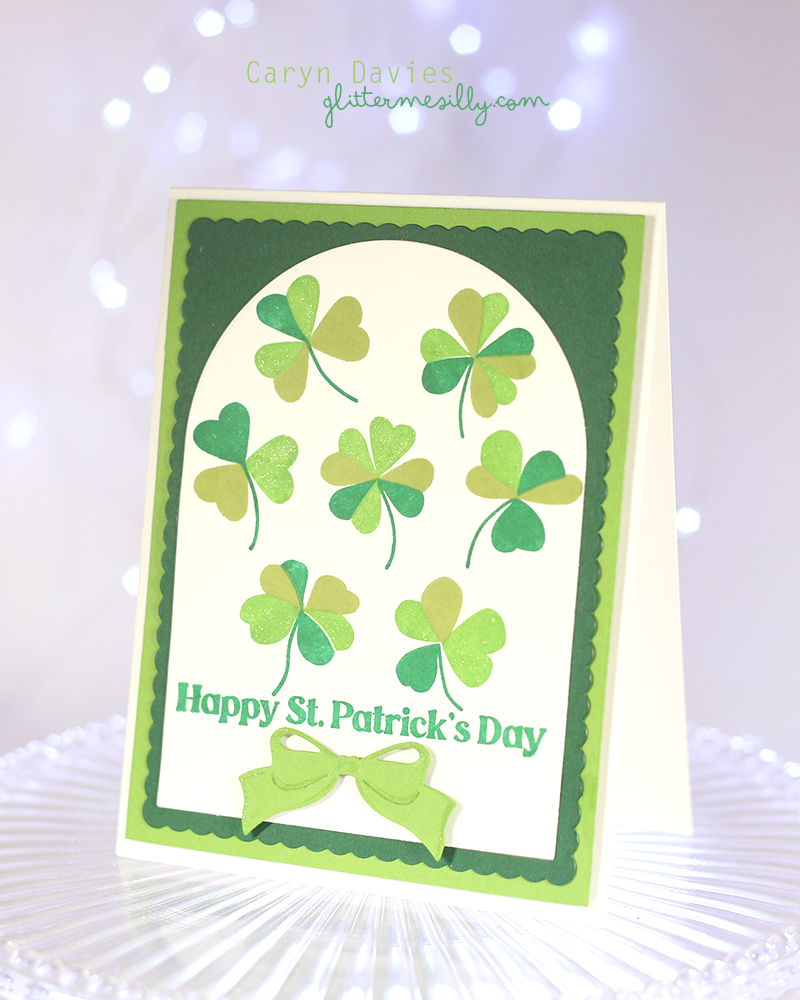
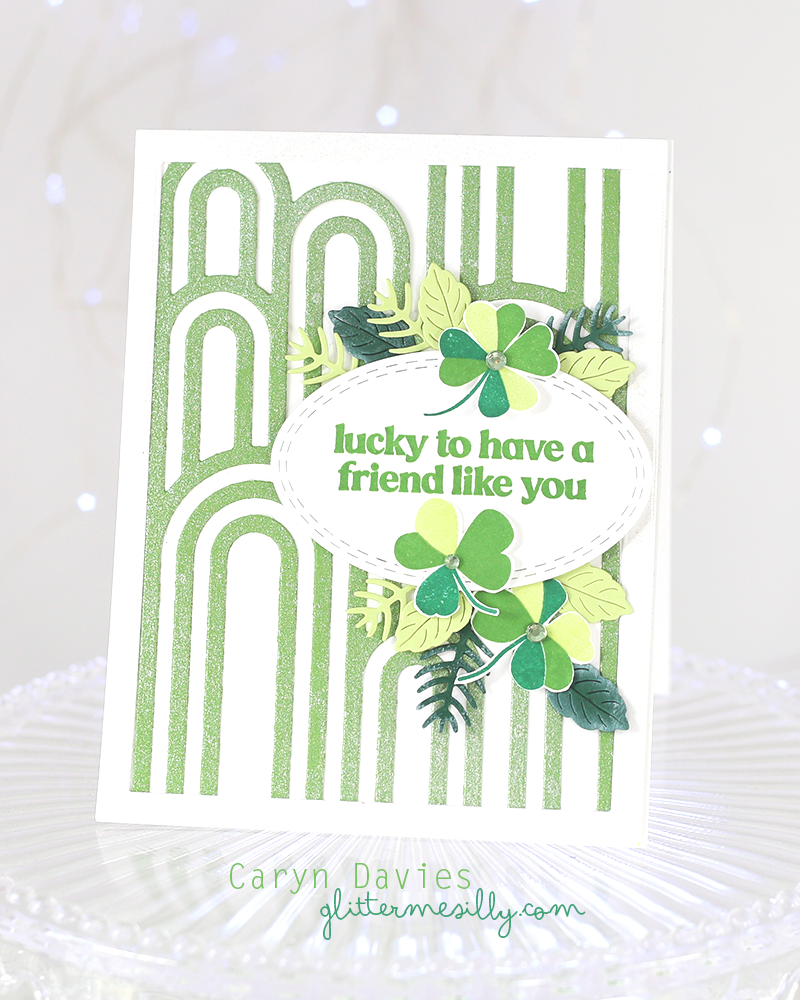
A Bit O Green
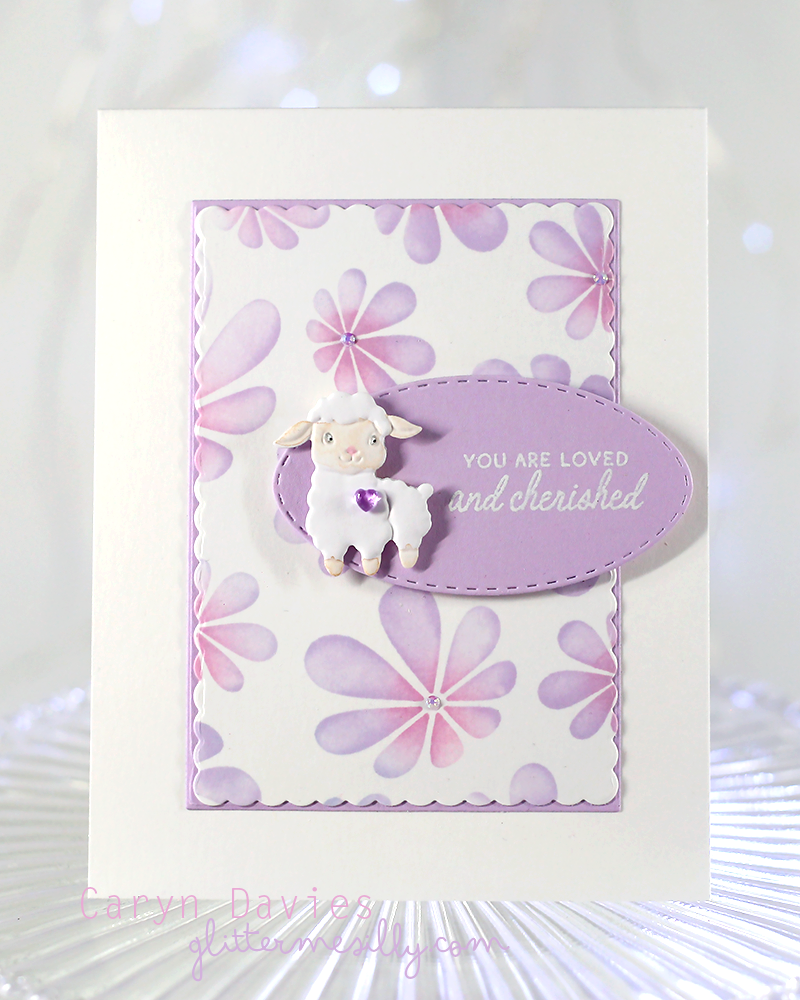
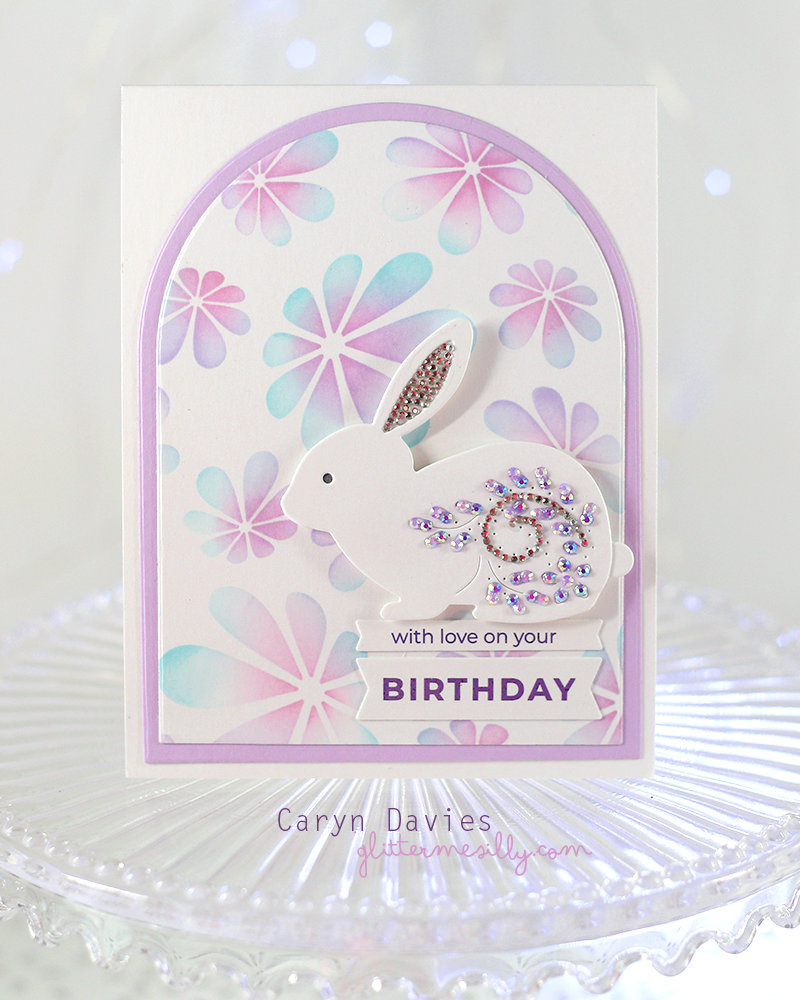
We are showcasing Pinkfresh Studio Products this week. You don’t have to use them to join in but if you have some we would love to see them used.
Pinkfresh Elevated Rainbows Coverplate Die, Essential Nested Ovals Double Stitched Dies
As always Simon Says Stamp will be giving away $25 voucher to shop at the fabulous Simon Says Stamp Store

So now it’s YOUR turn, Happy Crafting
Follow Simon Says Stamp on Instagram

Do you use Instagram ? If so please add #ssswchallenge to your challenge entry uploads so we can see them on there too.


You have until Wed 8am Ohio time. 1pm UK time, 2 pm CET to join in.