
Hi all and welcome to another week on the Simon Says Stamp Wednesday Challenge. Thank you for joining us for the Masculine Challenge and we hope you will all join us again this week too.
This week the challenge is
Anything Goes
We are showcasing Lawn Fawn Products this week. You don’t have to use them to join in but if you have some we would love to see them used.
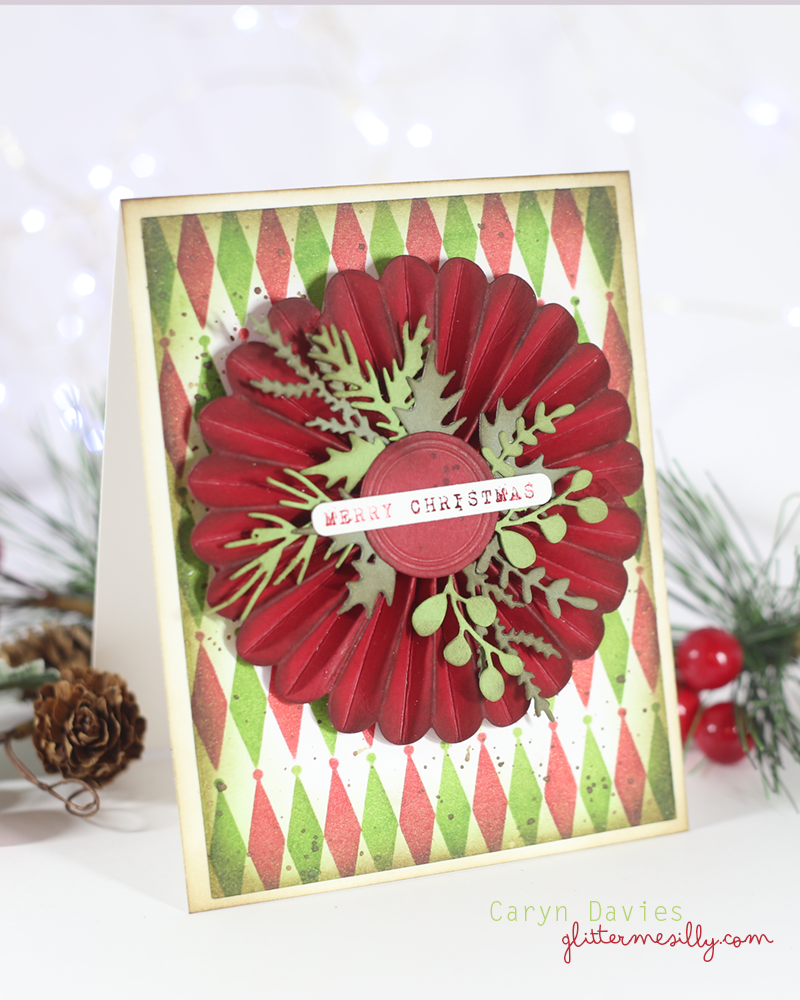
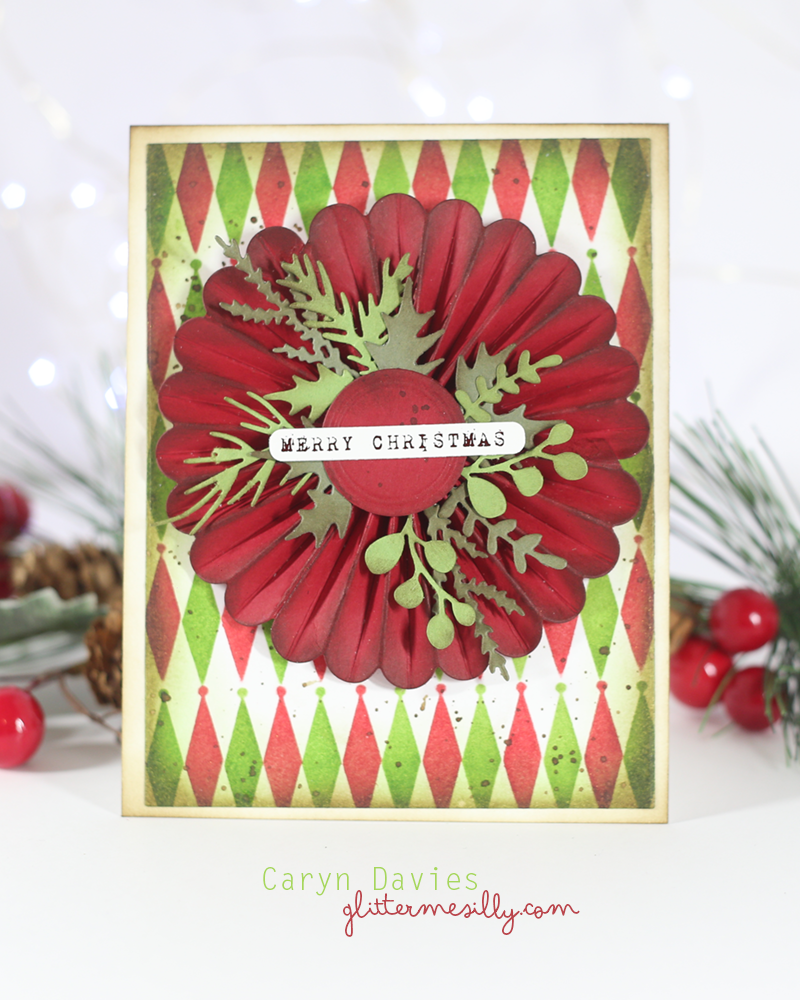
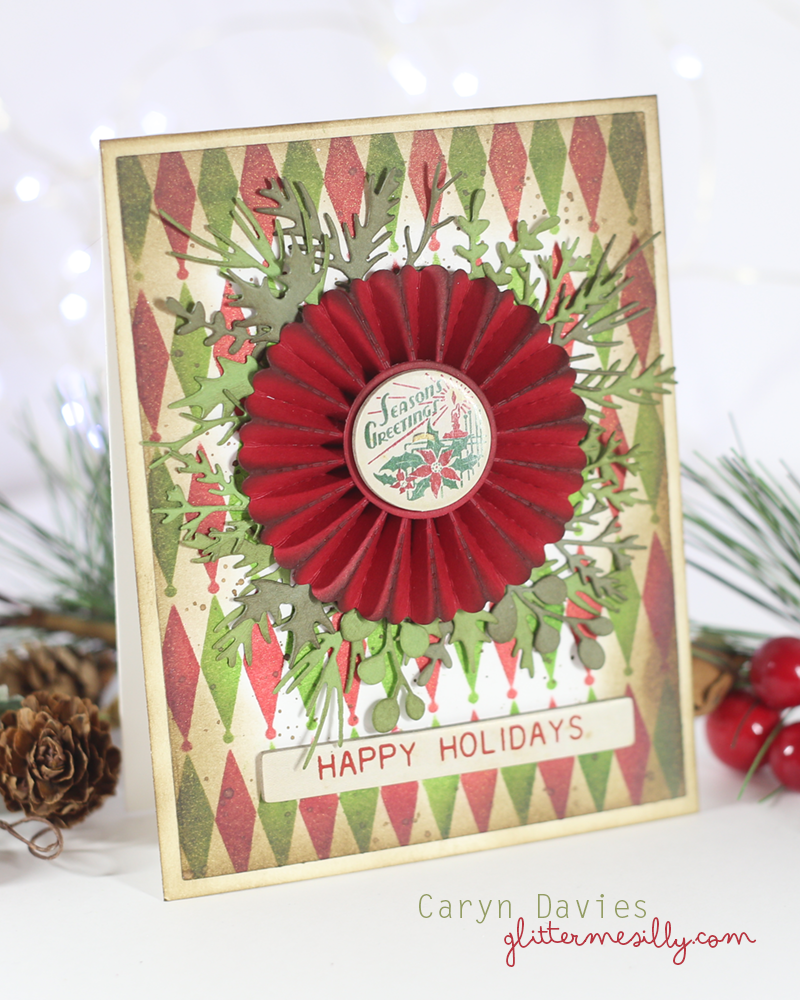
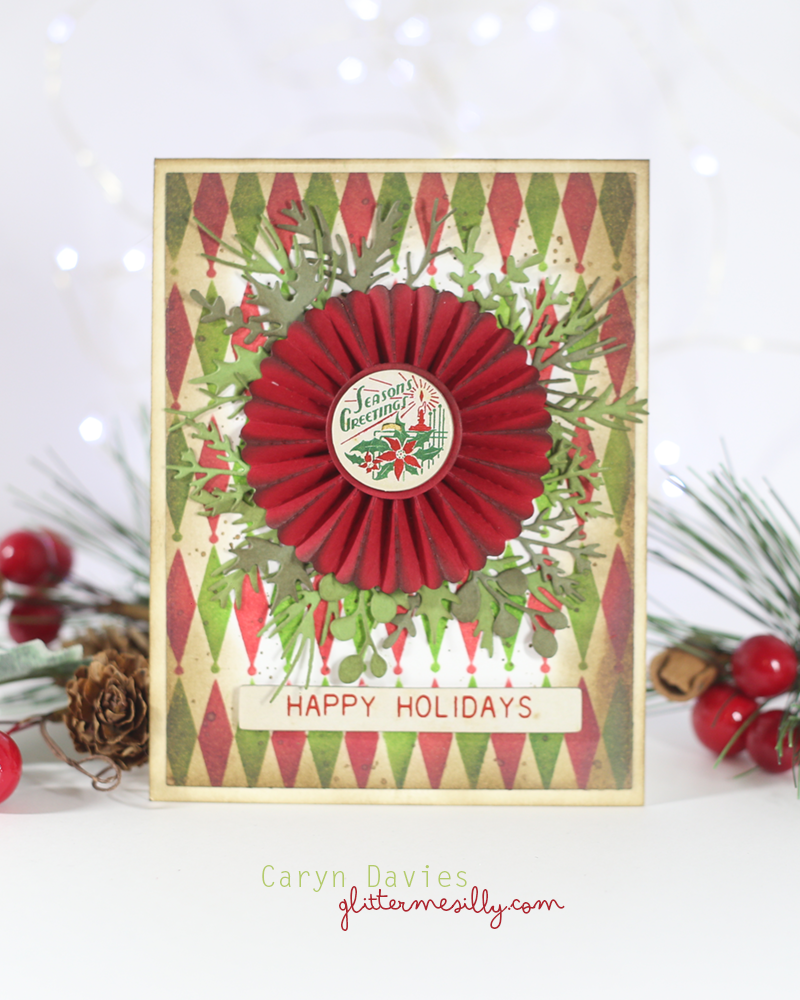
I started with an A2 card base and then die cut a panel using the Simon Says Stamp A2 Rectangle Dies. I used the Lawn Fawn String of Lights Background Stencils with Concord and 9th inks to create a background and then went over the lights again using Distress Translucent Texture Paste and a coat of Rock Candy Glitter.
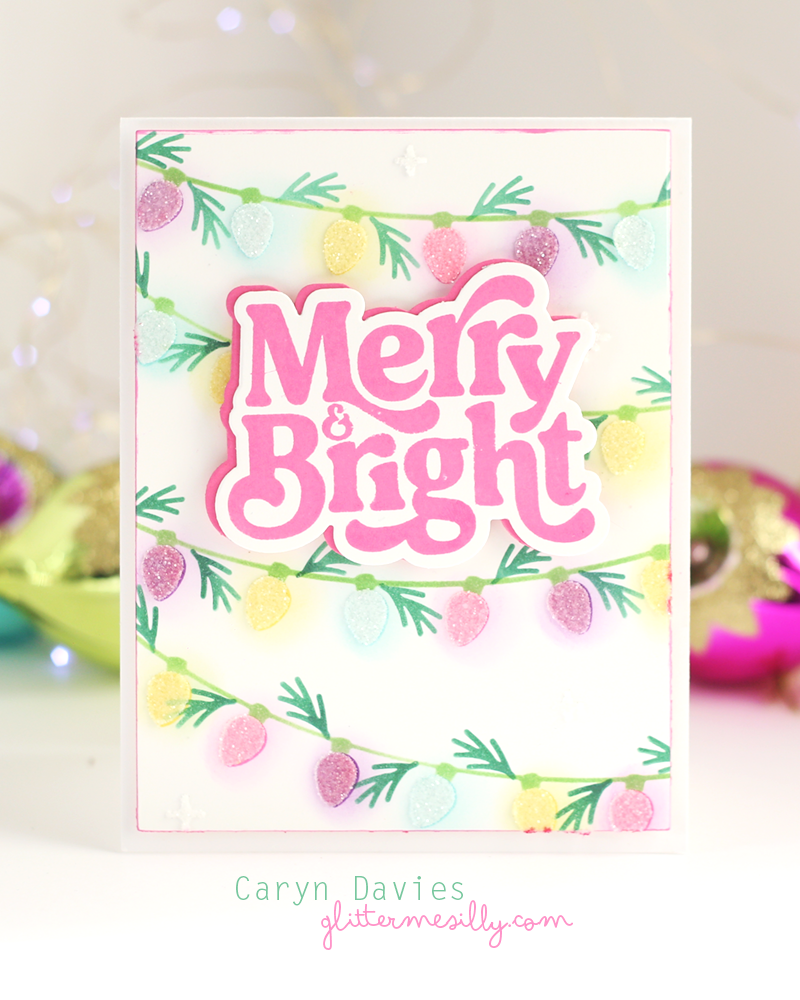
I used one of the large Sentiments from Concord and 9th’s Season’s Greetings Stamps and die cut it with a die cut shadow cut from Sweet Pea cardstock to match the ink on the stamped sentiment.

As always Simon Says Stamp will be giving away $25 voucher to shop at the fabulous Simon Says Stamp Store

So now it’s YOUR turn, Happy Crafting
Follow Simon Says Stamp on Instagram

Do you use Instagram ? If so please add #ssswchallenge to your challenge entry uploads so we can see them on there too.


You have until Wed 8am Ohio time. 1pm UK time, 2 pm CET to join in.