09.03.2020

Avery Elle … Loads of Happy

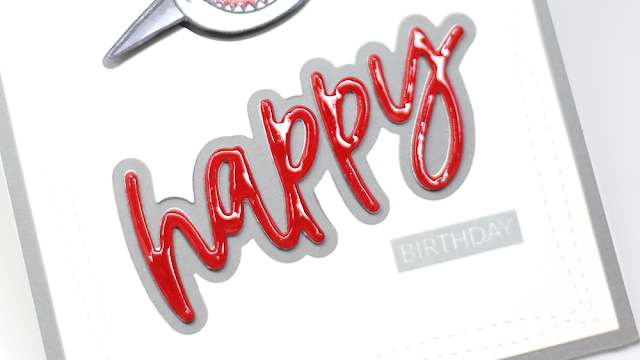
Hey there.  Caryn here with a look at the awesome Loads of Happy stamp set and co-ordinating dies I love the scale and font in this set and how the set includes the shadow die as well as the regular word die.  Instead of creating a mat with it I used it to create a negative space on the white die-cut layer on my card front and put the Happy die cut into it.  I love how this technique gives a look of depth without adding any actual thickness to the card. 

To create more dimension I die cut the word Happy twice from white cardstock, then once from red and adhered them together.  I then added some Diamond Glaze onto that for some gloss.

I haven’t played with the Hello Chum set in a while so thought this would be a good opportunity to grab one of my favourite sharks and add him to the card.
Supplies:

Loads of Happy Clear Stamps

Loads of Happy Elle-ments

Hello Chum Clear Stamps

Hello Chum Elle-ments

Wonky Stitches Elle-ments

Fog Dye Ink

08.03.2020

Avery Elle … Astronauts

Hey there, it’s Caryn here today with a one-layer card using the fabulous Astronauts stamp set. 

I wanted the little space folk to pop off the card without adding any thickness as this card will be posted.  I achieved a LOOK of dimension (without the bulk) by using some ink blending techniques with some masking.

I started by stamping the moon, astronauts, stars and rocket onto my base card then stamped again on masking paper and then covered up the images on the card.

I used Distress oxide inks to add a “glow” to the moon and stars using Squeezed Lemonade ink.  I then blended (avoided the yellow as much as possible some Blueprint Sketch and Tumbled Glass to create my galaxy background  To add more texture I splattered the whole card using both Avery Elle Shimmer spray and Picket Fence Distress Spray.  

Once I was happy that was all dry I removed the masks and added a small amount of colour to the images just to give some shadows and highlights.

Supplies:

Astronauts Stamp Set

Clear Shimmer Spray

Fog Dye Ink

08.03.2020

Avery Elle … Hoppy Easter

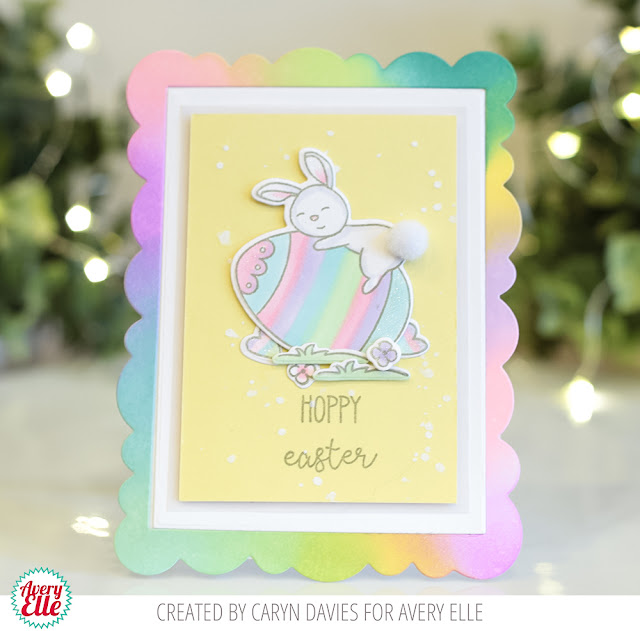
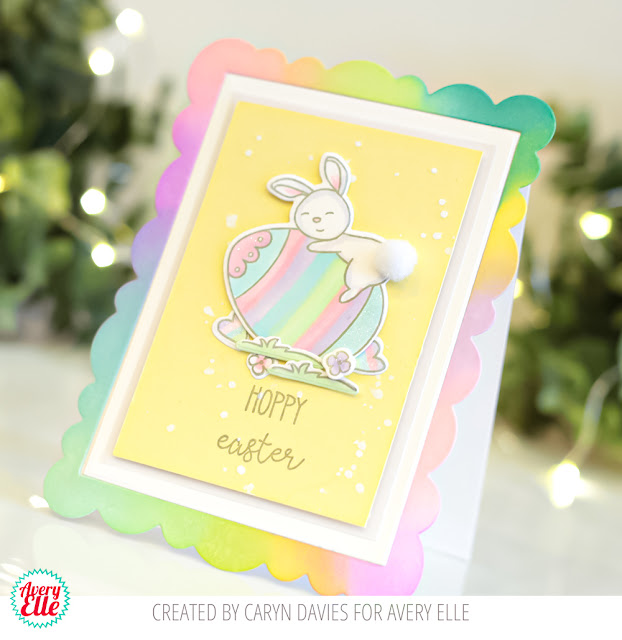
Hello, I’m here today with a cute little card using the Hoppy Easter stamp set.  Don’t let the teeny size of this set fool you – you can create some gorgeous, festive scenes like I have here.

I started with a 4-bar sized card (31/2 by 4 7/8″) and cut a small panel of yellow card for the front which I splattered with white paint (Distress stain in Picket Fence).  Meanwhile I blended some Distress Oxide inks onto some white card and then die cut a frame using Wonky Scalloped Frames which I adhered to the front of the card.

I stamped the images in Fog Dye Ink and then coloured them using pastel shades of Copics blending them on the egg to give a pretty pastel rainbow effect.  Once they were die cut I arranged them on the front of the card and finished by stamping my sentiment in Fog and adding a fluffy bunny tail using a teeny white pom pom

Supplies:

Hoppy Easter Clear Stamps

Hoppy Easter Elle-ments

Wonky Scalloped Frames Elle-ments

Fog Dye Ink