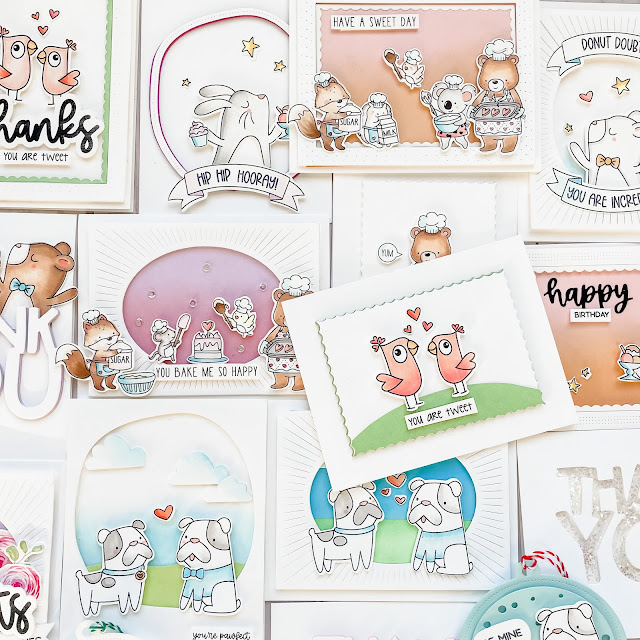

Hello! It’s time to celebrate the first release of 2023 from Avery Elle! This is such a great release – there’s tons of fabulous new stamps and dies and today I’m sharing a cure set called Best of The Bunch.
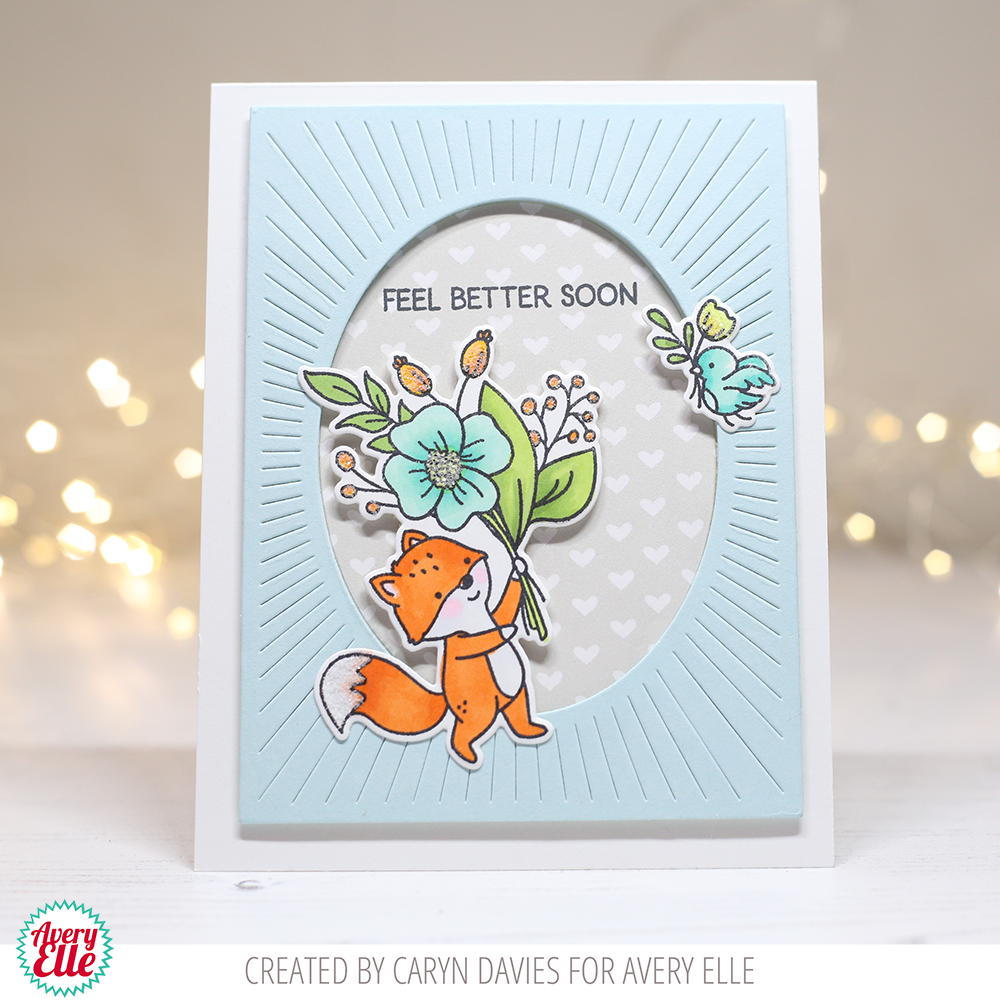
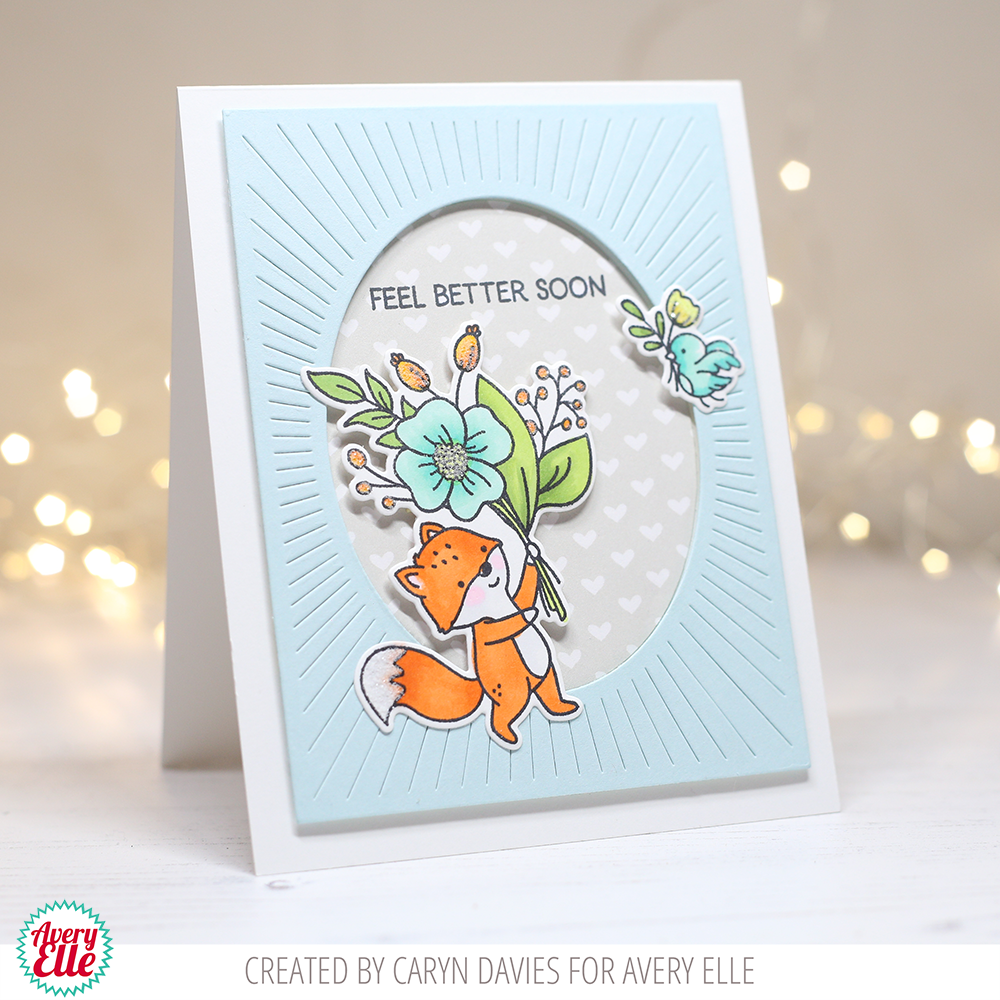
I started with a white A2 card base and die cut the Oval Burst die from some pool coloured card stock. I stamped the images from the stamp set and coloured them with Copics before adhering everything to the card front. I added a little glitter to a few small areas (which never shows on camera!!)
Supplies:
Best of The Bunch Clear Stamps
Best of The Bunch Elle-ments
Oval Burst Elle-ments
I hope you enjoy the rest of the blog hop – here’s the full list – happy hopping!
Avery Elle
Caryn Davies
Heather Campbell
Yainea
Melania Deasy
Amy Kolling
Ashley Marcu
Elena Roussakis