Hey there. It’s time to share the last “Get Cracking On Christmas” card of this year. It’s been fun playing along with my fellow crafters Jenn Shurkus, Chari Moss, Cheiron Brandon and Libby Hickson. Whilst I haven’t had time to join in every month, it has been so helpful to keep me from ending up with that last minute rush in December!
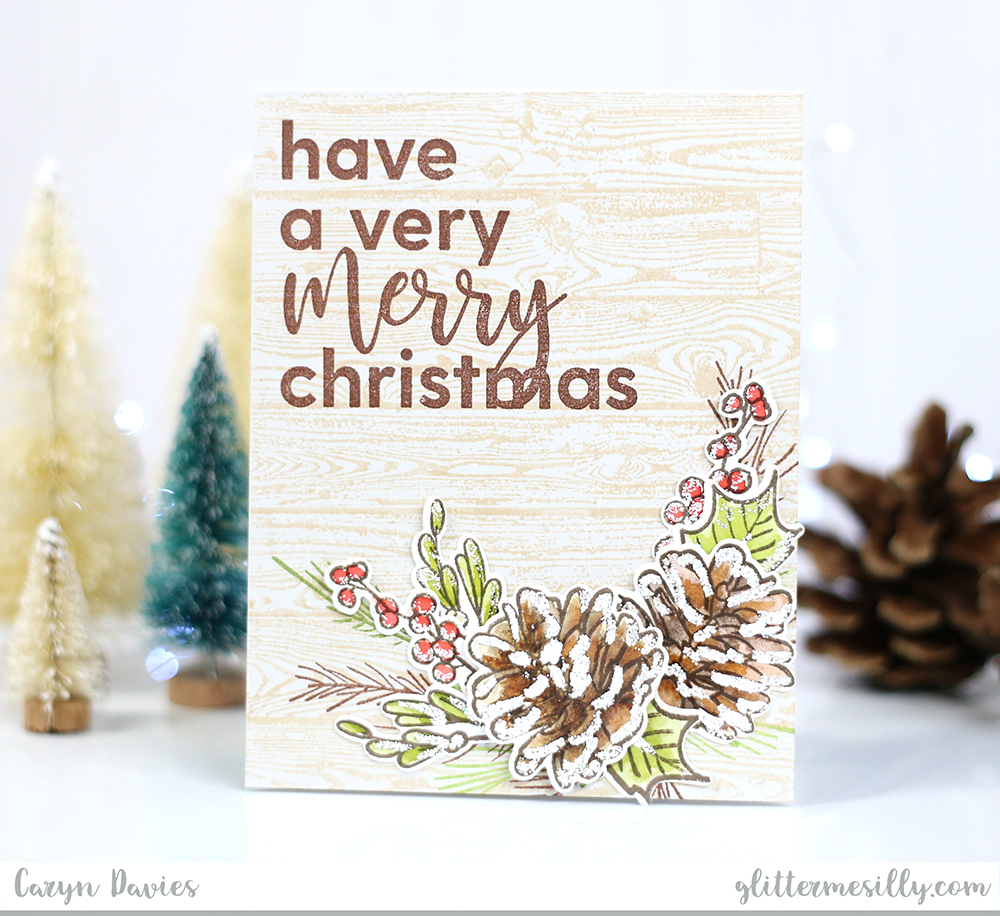
For my card this month I have been playing with diffent supplies from different companies and combined them in a fusion of rustic goodness! I started with a stone coloured card base and stamped the Wood Plank background stamp from My Favourite Things in Desert Sand ink. In the corner I stamped one of the Corner Sentiments: Christmas stamps from Avery Elle in Truffle dye ink (also Avery Elle). For the main feature of my card I used the Poinsettia and Pine stamp set from Altenew. I stamped the element s in Versa fine Clair ink in Acorn and then coloured with Zig Clean Colour markers. I gave everything a frosty look using White Puff Twinkle embossing powder from Wow.
Thanks so much for stopping by and Merry Christmas to you all xxx